Have you ever wondered how your favorite photographer or Instagrammer came up with such flawless pictures? Of course, there are super powerful cameras and Instagram filters to assist them.
But the key to such posts and pictures is the editing tools they use. Editing pictures is something that you cannot afford to miss out on in these days. However, I soon realized that editing photos are not everyone's cup of tea.
And, with all the editing software available on the web, it was overwhelming to choose a good editing app until I found Lightroom. In this article, I will talk about the fantastic and easy image editing tool called Lightroom and give you insights into its features.
- All-In-One Editing Software
- Non-Destructive Editing
- The Quick Develop Panel And Library Integration
- The Library And The Editing Tab
- How To Download The App
- How Much Does It Cost

All-In-One Editing Editing Software
For years Adobe Photoshop was the dominant photo editing software on the web. But, the problem with Photoshop was with its extensive amount of features; it was pretty hard for beginners to learn and use the software. Then came the Lightroom, also developed by the multinational software company Adobe.
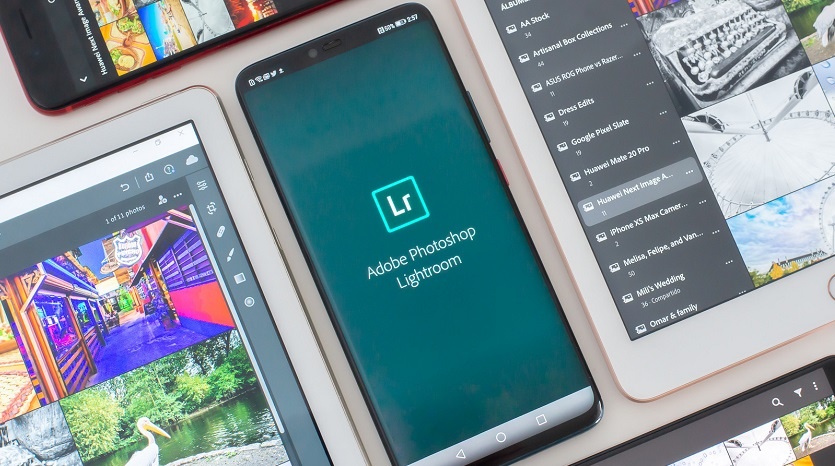
Lightroom is amazing all-in-one editing software that allows importing, organizing, editing, and sharing in one platform. It is the perfect alternative to Photoshop for beginners like me, who want more straightforward yet capable tools to edit the images.
The best part about the app for me was its no-nonsense user interface that offered a friendly experience while editing images. With all its high-end features, the Lightroom app is probably the best editing app that allows you to edit your pictures on the go.
User-Friendly Interface
Talking about the app's essential features, it has plenty of cool and unique features that make Lightroom the most popular editing app among beginners and professionals. Below are some of these features explained in brief.
Most mobile photo editing apps often have a mobile-optimized user interface, making it tough for users to find the right tools.
On the contrary, Lightroom has managed to find a perfect balance between placing the right editing tools and giving the app a nice-touch-friendly design. Users can use the buttons, and scales are automatically adjusted in the app.
Non-Destructive Editing
After using many photo editing apps and software, I did not like how they damaged my original pictures. However, Lightroom's non-destructive editing features allow me to edit images without having to ruin their originality.
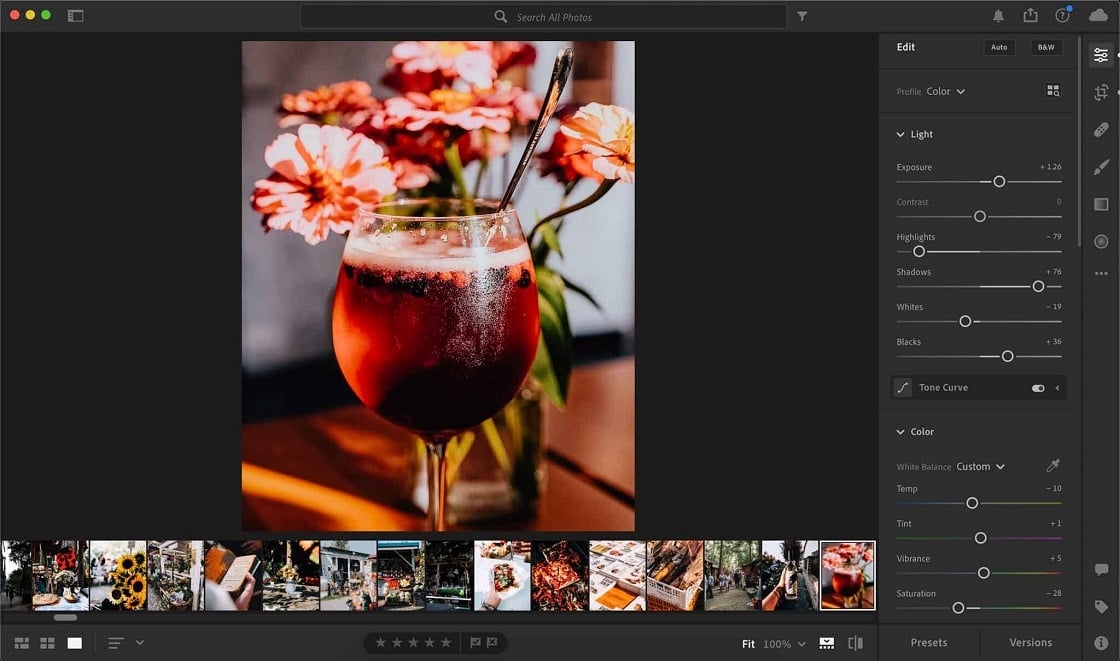
Also, before using Lightroom, the only robust way to edit pictures without damaging the image was using the layers, which is known for its complexity.
However, Lightroom lets me edit the images fearlessly. Lightroom app preserves the history of every single change that is made on the picture and allows me to undo and redo the changes.
Creative Adjustment Tools
Lightroom features plenty of creative adjustment tools that allow me to use my optimum creativity while editing pictures. There is the Graduated Filter which provides gradient-type effects to the image.
There are also adjustment brushes that I could use to make adjustments on a specific part of the pictures. Sharpening, softening, burning, dodging, and applying contrast and brightness to the particular part of the images had never been so easy.
The Quick Develop Panel And Library Integration
The best part about Lightroom has to be the Quick Develop Panel. With this particular feature, I could batch process and apply the effect to multiple images at once. This feature allows editors like me to edit loads of photographs in very little time to save time while doing the job.
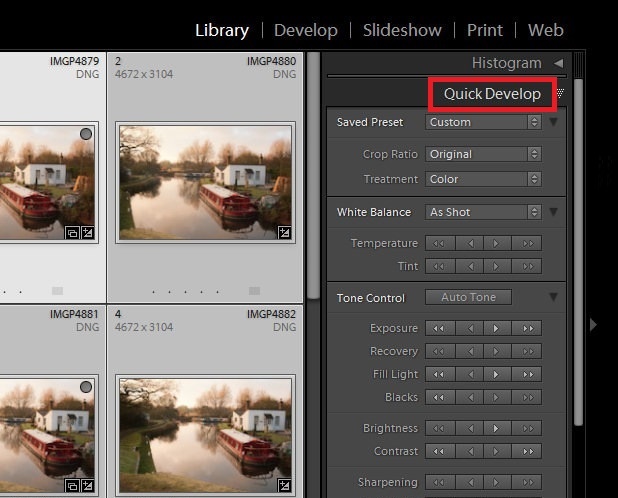
Adobe Lightroom also features a unique library integration, which allows me to manage my ever-expanding photo library.
There is a navigation bar on the left of the window, which includes all the folders in our library and the collections of the images. The scrolling function allows me to quickly navigate between the images and thus find images to edit.
Getting Started With The App
As already mentioned above, Adobe Lightroom has a very easy-to-use user interface; therefore, it was not much of a problem getting started with the app. The initial requirement was for me to do was download the app on my phone via the App Store.
Once I had installed the app, I opened the app and was asked to sign in. Since I did not have an Adobe Account, I signed up by using my email address. Alternatively, there were also options to sign in using Facebook, Google, or Apple accounts.
The Library And The Editing Tab
To begin the first editing task, I adding photos to Lightroom Library through the Library tab, which is on the bottom left corner of the window. There were two options to add pictures: first, importing files from the device, and second use the camera to take a picture.
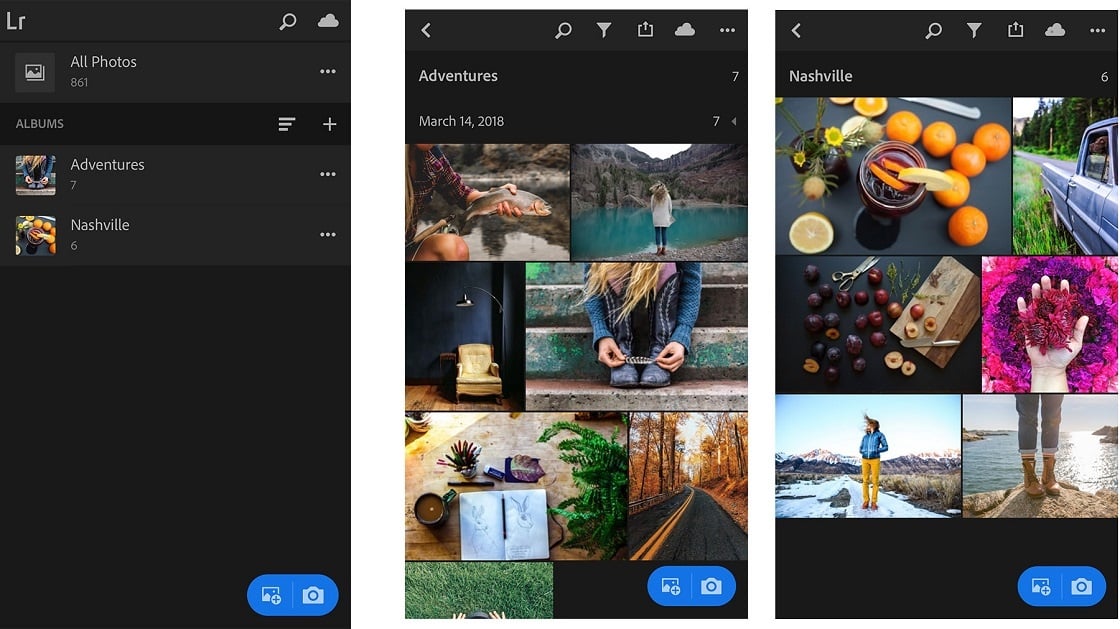
After adding the picture to the library, I tapped on it to get started with editing. Once on the editing tab, there were the crop buttons, presets, light adjustment, color adjustments, and other effects on the bottom of the window.
After finding the correct set of adjustments and tools, I could easily edit the pictures.
The Discover And Learn Sections
On the bottom right corner of the homepage of the app, there was the Discover section. In this section, I could find the edited pictures categorized into multiple sections, including abstract, events, fashion, food, and fine arts. It also displayed the trending images and featured images.
What I like even more is that tapping on any one of the images would provide me with all the information of the editing done to that particular image. The primary benefit of this was that I could take ideas from the professionals and recreate them on my own photos. There is also a Learn section at the bottom of the page.
Here, I found tutorial videos about getting started with the Lightroom app, using the tools correctly, and perfectly editing portraits, sharpening the image. The tutorial videos are categorized into three different sections, titled Topics, Tools, and Subject Matter. The Learn section is one of those impressive parts of the app that helps beginners bring out their best editing skills.
How To Download The App
The app's greatest characteristic is that it is available on both Android and iOS platforms; therefore, both platforms' users can use it. Users can visit their platforms' store and search for Adobe Lightroom in the search bar to download the app.
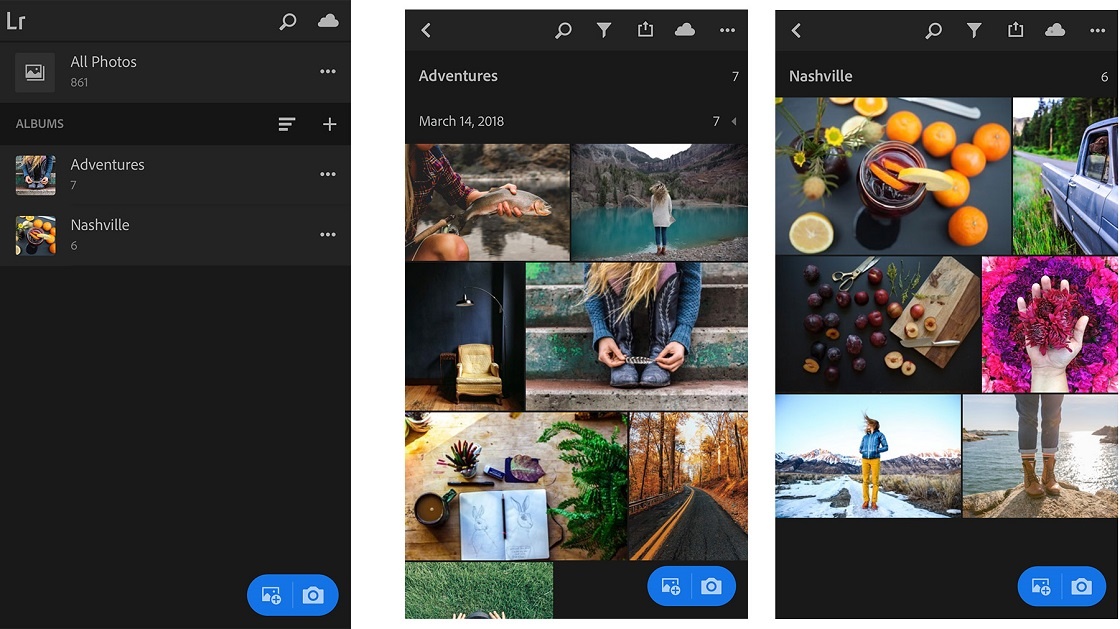
There you will find the Lightroom app, with a blue icon with Lr written on it; tap on the icon and click on download to install the app. Alternatively, I have also attached the App Store's and Google Play Store's links, which will directly take you to the download page of Lightroom.
What Are The Android And iOS Systems Requirements?
The app size of Lightroom varies from device to device – however, it would not be large enough to not fit into the device. Talking about the Android requirement, to run the app without any glitches, the device must be running on Android 6.0 or later.
If you are using Lightroom on an iOS device like me, the device must be running on iOS 13.02 or later to run without any problem. The size of the app is surely larger than that of the Android version, 254.1 MB, to be exact.
How Much Does It Cost
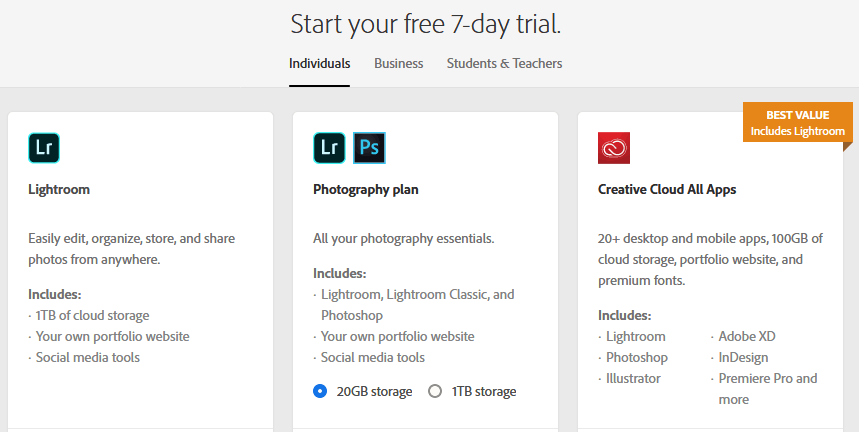
Another great thing about Adobe Lightroom is that it is free to download and use. However, while using the app, I found that there were few ways to upgrade the free Lightroom app to a paid subscription that gave me access to premium features of the app and cloud storage facility.
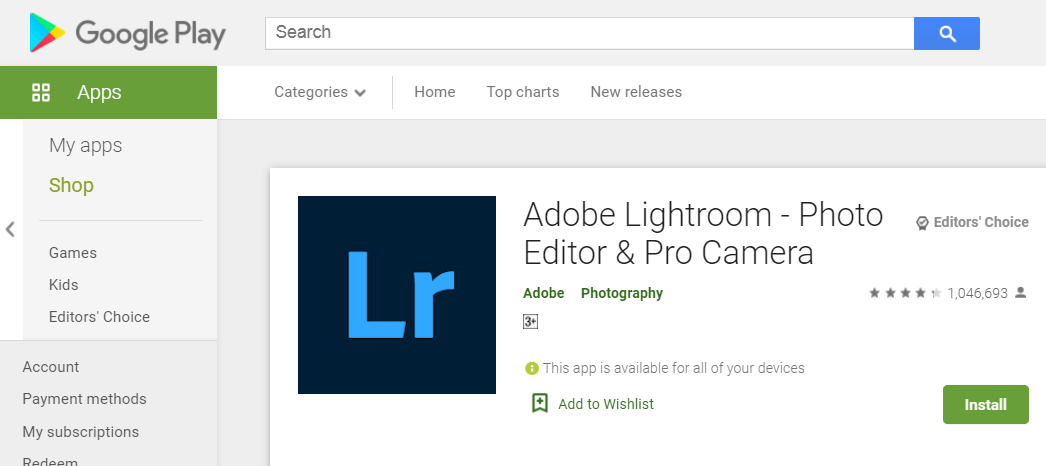
Premium features include premium presets, healing brushes, and geometry tools, among others. These premium features provided me precise editing controls, and at the same time, I was able to seamlessly access photos across all devices.
With a monthly payment of $1.99, I was given access to 1TB of cloud storage and access to all the latest features and updates as soon as they were released.
However, there was also the option for an annual prepaid plan that would set me back by $19.99 per year. If you are sure about the app and wish to use it for a long time, I would suggest you choose the yearly plan and save 16% per year.
Free Trial To See If It’s A Good Fit
It is also worth noting that, after choosing a plan, I was given a 7-day free trial. Also, you must cancel the subscription at least 24 hours before the conclusion of the present plan.
If not, you will be automatically charged for the next billing period as well.
The Bottom Line
To sum up, Lightroom is an exceptional all-in-one editing and photo organizing application. If I were to give a rating to the Lightroom app, I would probably give it a 10 out of 10, as it stands on every expectation of mine relating to image editing. Moreover, I would also recommend you to use the Lightroom app and see for yourself.

