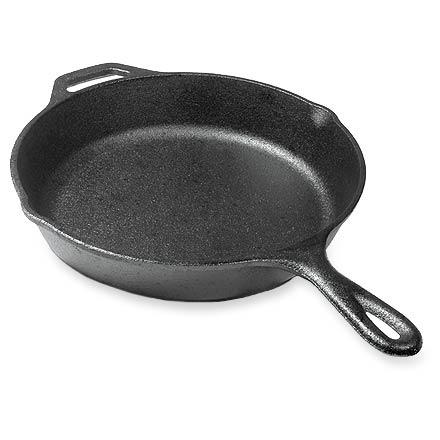
Today we are used to Teflon pans and pots, which are ideal for preparing many foods without running their sticking risk. Despite this, many people for certain types of food still prefer iron pans, however, and like clay pots, they must be cured when we buy them and every so often of use.
That's why we will explain in detail how to cure an iron pan so that you can enjoy your meats and meals with the flavor of this utensil.
Step One
Almost certainly, the very first thing on your mind is why I should cure the iron pan? Well, to use it properly without affecting the quality of your food. Curing protects the metal and prevents food from burning, always guaranteeing excellent cooking.
Read also: Tips and Tricks for Cleaning Pans.
Step Two
The process of curing an iron pan is straightforward. However, it will leave a lot of smell at home, so the most convenient thing is to turn on the kitchen extractor if you do it inside or, if you have a barbecue or grill outdoors, do it outdoors.
Start by heating the pan to 180º or more and then add beef or pork fat and let it burn completely.

Once the fat is consumed, we have to remove the pan from the heat and clean it with water and then clean it with a tough but non-metallic sponge to remove the burned fat. This process will gradually eliminate the pan's metal parts that burn the food, leaving only the area to cook without running this risk.
Step Four
The process to cure the iron pan must be repeated at least 3 times. After this, you will notice a film on the metal that is nothing more and nothing less than curing.
Also read: Dishwasher Cleaning Tips.
Remember not to clean the cured pots with too much detergent. For them, nothing better than good disinfection with boiling water several times and finally dry them with several napkins.
Adapted and translated by The Cop Cart Staff
Sources: Uncomo


